

















































How to Waterproof Fabric for Outdoors When Rain Soaks In
How to waterproof fabric for outdoors means cleaning and fully drying the cloth, then using a light water-repellent spray or wash-in on synthetics, wax on cotton canvas, and a compatible seam sealer on needle holes.
A dark patch, a stitch that drips, and a shell that feels cold while the lining stays dry are separate failures. Sorting them comes before any can is opened, and a waterproof outdoor fabric from a mill is the later step when spray is the wrong object.
Why Outdoor Cloth Soaks Instead of Shedding Rain
A dark wet face, a dripping stitch, and a cold clammy shell are three different failures.
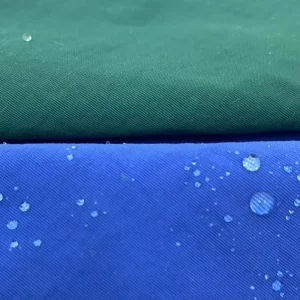
Rain that sinks into a blotch on the outside usually means the face finish is tired or dirty. A durable water repellent, often shortened to DWR, is that face finish: it makes drops bead and roll instead of spreading. Dirt, skin oil, and abrasion flatten the finish, so the same nylon that shed water last season now looks soaked.
A line of drips along stitching is a hole problem. Sewing needles leave gaps the face spray never fills. Panels can still bead while the seam weeps.
The clammy-shell case fools people most often. A coating or membrane can still stop liquid while the wet face blocks vapor and feels cold against an arm. That sensation is a soaked face, not automatic proof the barrier has failed.
A water-resistant fabric finish only slows a shower. A bead of water on the surface shows repellency. It does not show that liquid is unable to pass when the rain sits there for hours.
| What you see | What it usually means | Next move |
|---|---|---|
| A dark wet patch on the face | The beading finish is worn or dirty | Clean, dry, then refresh the repellent |
| Drips only along stitches | Needle holes are open | Seal the seam after the face treatment cures |
| White flakes inside a tent fly | A coating is breaking down | Refresh it with a sealer made for that chemistry |
| Cold clammy shell, dry lining | The face is soaked and blocking vapor | Restore beading before blaming the barrier |
Clean and Dry the Cloth Before Any Treatment
Wash off dirt and skip bleach, fabric softener, and dry-cleaning solvents on a rain shell.
Oils and grit sit in the yarns and keep a new finish from grabbing. Harvard’s outdoor program names dirt and a worn DWR as two main reasons a rain jacket starts drinking water. A rinse with mild detergent, or a non-detergent wash made for shells, then a second rinse, gets residue out.
Bleach, fabric softener, and dry-cleaning solvents fight the finish you are trying to keep. Softener in particular leaves a film that water loves. Skip them on coated nylon and on any shell whose care label is already cautious.
Dry the cloth before a garment spray. Dew on a tent fly, or damp soil wicked into a floor, makes the spray take unevenly.
One tent-specific DWR can go onto a fly that is still wet from washing, which disagrees with sprays that demand a dry surface. Follow the label in your hand when those instructions conflict.
Store the finished piece fully dry. A treated cushion packed damp grows mildew even when the chemistry was sound.
If you know a hard storm is coming, bring porch cushions under cover. A spray will still leave them loose in a gale.
Match Spray, Wax, or Seam Work to the Cloth
Synthetics take a light repellent, cotton canvas takes wax, and needle holes take a sealer matched to the coating.
The cloth in front of you decides the tool. Nylon and polyester shells, packs, and umbrella panels want a light repellent on the outside.
Cotton canvas, duck covers, and old waxed jackets want wax worked into the yarns. A tent fly wants both a face treatment and a later pass on the stitches.
Wax on a breathable rain shell is a known way to ruin the jacket. Makers on an outdoors forum put it bluntly: if the coat was built to breathe, wax stiffens it and closes the paths vapor needs.
Stretch knits that include spandex are a poor match for a wax bar for the same reason. The hand goes boardy, and the stretch story suffers.
Silicone-treated cloth and polyurethane-coated cloth do not share a seam product. A sealer made for one chemistry can sit on the other and peel.
If the hang tag or the maker can tell you which coating you have, buy the sealer that names it. If nobody can say, test a scrap before you paint a whole fly.
| Cloth in front of you | Treatment that fits | Leave this off |
|---|---|---|
| Nylon or polyester shell | Light spray or a wash-in on the face | A heavy wax that closes breathability |
| Cotton canvas or waxed cotton | Wax rubbed in, then gentle heat | A solvent mix you have not tried on a scrap |
| Coated tent fly | Face repellent, then a matching seam sealer | Silicone sealer on a polyurethane fly, or the reverse |
| Stretch nylon for jackets | A mill waterproof cloth when spray keeps failing | Wax pressed into a knit that has to move |
Put a Light Repellent on Synthetic Outdoor Cloth
Use a light pass on a clean cloth, outdoors, and keep wash-in products off a wicking liner.
Shake the can or bottle. Spray a hidden corner and let it dry before you commit the whole panel, because some aerosols deepen the color.
Hold the nozzle about 6 to 8 inches off the cloth and sweep so each pass overlaps. The face should look evenly damp, not puddled.
A puddle dries into a stiff spot and wastes product. Work outside, or in a space with real airflow, because the smell is strong.
Important: Aerosol waterproofing sprays have been tied to cough and breathing trouble when used indoors, including when treated items were carried inside while fumes were still coming off, so spray outdoors and leave the cloth outside until the smell is gone (CDC report on boot-sealant illness).
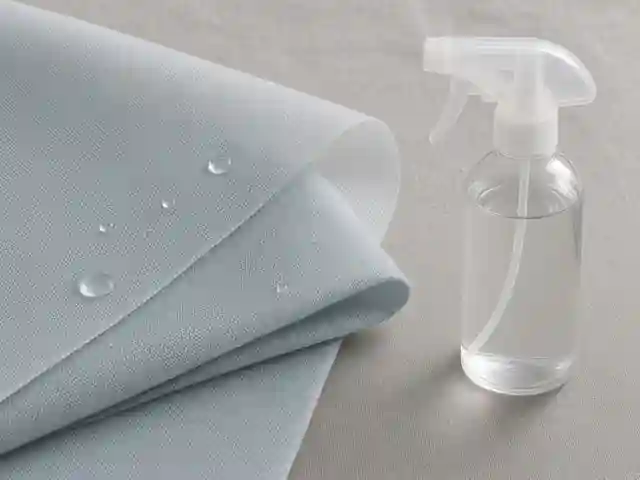
Let the piece dry completely before anyone sits on it or packs it. Sun and moving air shorten the wait. A second light coat belongs on elbows, shoulders, and the top of a cushion, after the first coat is dry, not on the same afternoon as a flood of product.
Wash-in repellents suit rainwear and other gear that can go through a machine or a tub. They coat every fiber, which is useful on a simple shell and clumsy on a jacket with a wicking liner.
The wash-in film lands on the inside too, and that can slow the liner. If the liner’s job is to move sweat, spray the outside instead.
When water stops beading and starts to darken the face, the finish is due again. That can be after a season of abrasion or after several washes. There is no calendar that fits every cloth.
Wax Cotton Canvas Without Scorching the Fibers
Rub wax into dry cotton canvas and melt it with moving heat, not a parked iron.
Canvas and other heavy cotton drink water until something fills the gaps in the weave. A wax bar or tin does that by sitting in the yarns.
Rub in several directions so the ridges of the weave actually take the wax. Seams, corners, and the spots that rub on a frame get a slightly heavier coat.
Moving heat carries the wax inward. A hairdryer or a low heat gun, kept moving and several inches off the cloth, melts the film without scorching.
Keep a press cloth between the canvas and a clothes iron, and keep that iron moving. Parked heat leaves a shiny burn and a brittle patch.
Some waxes melt under a warm sun, though the result is slower and less even. The cloth will look a shade darker and feel stiffer at first.
That stiffness eases with folding and wear. It will not feel like untreated cotton again, and it will not breathe the way an open weave did.
That trade is acceptable on a tarp or a waxed jacket. It is the wrong trade on a hiking shell.
If a scrap darkens more than you can accept, stop. Color change is common with wax and with some sprays, which is why the hidden-corner test comes before the full panel.
Close Needle Holes After the Face Treatment
Seal the stitches only after the face treatment has cured, with a sealer made for that coating.
Pitch the tent, or spread the fly, so every seam is easy to see. You are sealing the underside of the fly and, where the design calls for it, the inside of the body.
Loose tape that is already peeling can come off. Tape that is still stuck should stay.
Wipe the stitch line with a clean rag and rubbing alcohol so dust and old wax do not sit under the new sealer. Then run the seam sealer along the needle line, working it into the holes rather than frosting the whole panel.
If one seam has started to fail, the neighboring seams are often close behind. Polyurethane-coated flies are the common case, and they want a polyurethane-compatible sealer.
Silicone-impregnated cloth wants a silicone sealer. Mixing them is how a neat bead peels off in the next rain.
Read the bottle against whatever the tent maker named. Dry the seams fully before the fly is packed.
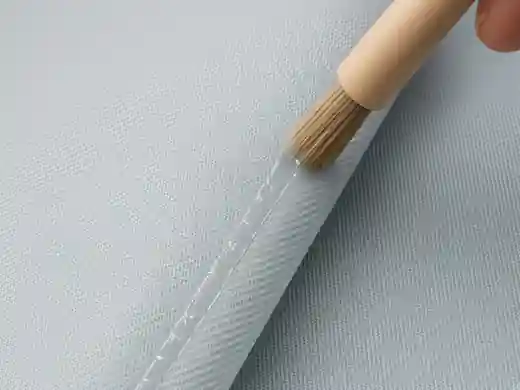
A packed wet seam sticks to itself and picks up dirt. Condensation from breath and body heat is a different leak: it forms on the inside even when the cloth is sound, and ventilation plus a groundsheet does more for that than another coat of sealer.
Flaking white film on the inside of a fly is the coating itself breaking up. Scrub the loose film away, then apply a thin replacement made for that coating, and give it a long dry.
A face spray will not rebuild that inner film.
Choose Mill Waterproof Cloth When Home Treatments Fail
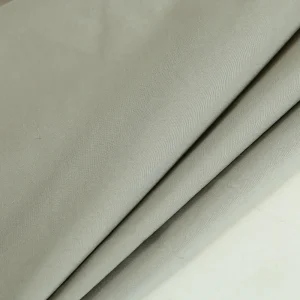
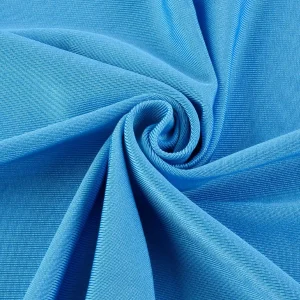
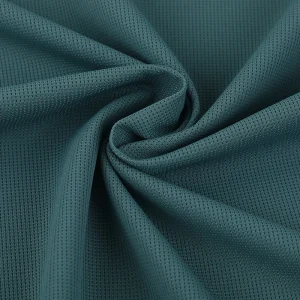
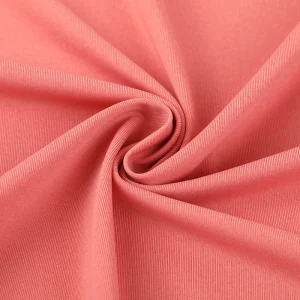
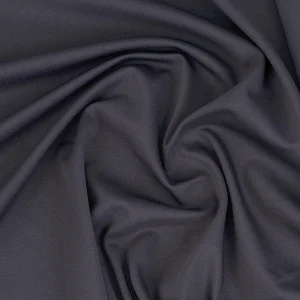
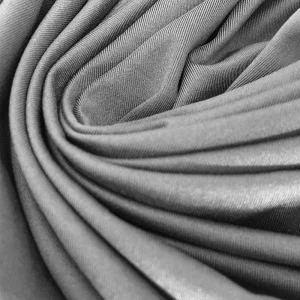
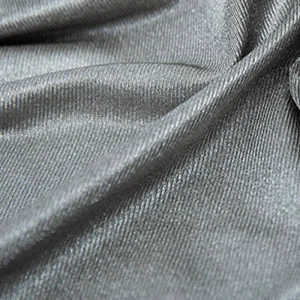
Choose the published 70D nylon-spandex when the garment needs a waterproof stretch cloth.
Spray and wax are a weak plan when the pattern is an outdoor jacket or a hiking pant that must move, shed rain, and still be cut from a known construction. Makers who have tried to “waterproof” a breathable softshell usually end up saying the quiet part: if you want waterproof cloth, start with waterproof cloth.
A hydrophobic spray rubs off and only upgrades the face for a while. For that stretch outerwear job, the 70D waterproof nylon-spandex fabric is the live option on this site.
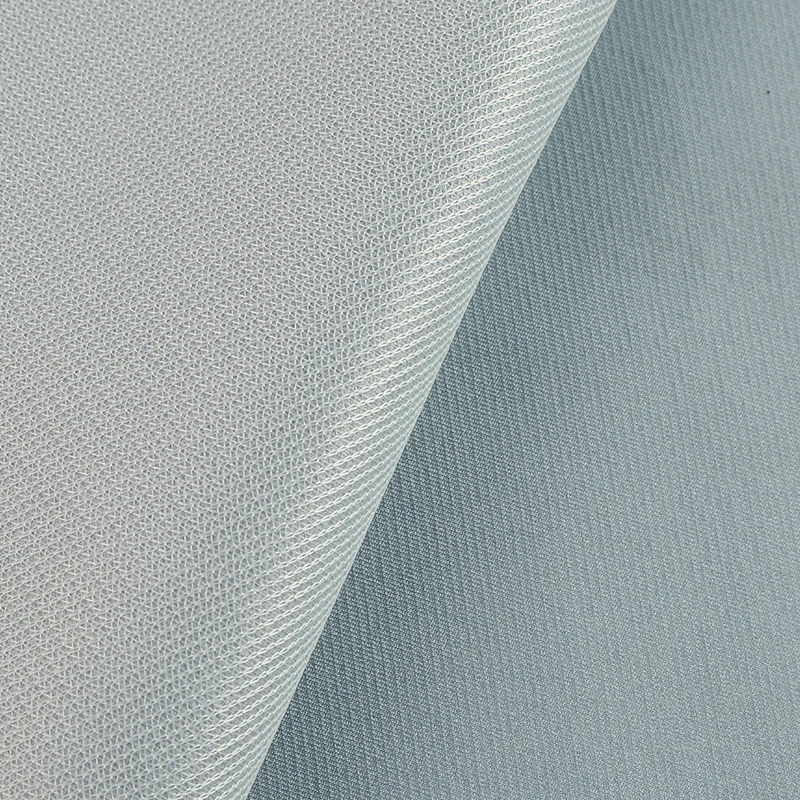
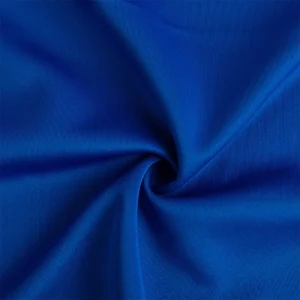
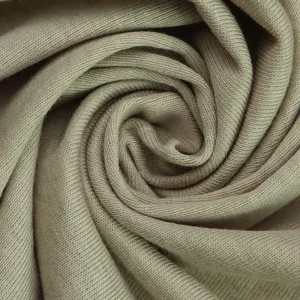
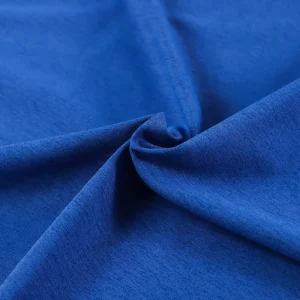
Published details on that cloth are composition 90% nylon, 10% spandex, weight 140–145 g/m², width 150 cm, and use on outdoor jackets, hiking pants, and quick-dry clothing.
The card describes a waterproof, quick-drying nylon with stretch for rainy outdoor use. It does not publish a water-pressure figure, a sun-protection number, or a certification. Read the card as those five details and nothing past them.
Leave this cloth off the shortlist when the project is a cotton canvas tarp, a porch cushion, or a light splash on an existing jacket. Those stay with wax or a face spray. When the program does need the wider cluster, the waterproof fabric hub is the place to keep browsing.
FAQ
What can I put on fabric to make it waterproof?
Put a light spray or wash-in repellent on nylon and polyester, wax on dry cotton canvas, and a seam sealer on needle holes after the face treatment cures. The three tools are not interchangeable, and none of them turns every textile into a coated barrier.
What is the best waterproofing spray for outdoor fabric?
There is no single best spray. Match the bottle to the fiber and to any coating already on the cloth, test a hidden corner, and apply a light coat outdoors. A tent DWR and a cushion guard can both be “outdoor” products and still be wrong for each other’s cloth.
Can fabric be waterproofed?
Some fabrics can gain a real barrier from a coating, a laminate, or a mill construction. A home spray mostly restores beading, which is a water-resistant behavior, and the drops will stop beading again after dirt and wear. If the garment has to stay dry through a long rain while the wearer keeps moving, start from a waterproof construction instead of hoping a can will invent one.
How to protect fabric outdoors?
Clean it, treat the face that actually sees weather, let it dry, and store it dry. Re-treat when water soaks in instead of beading. Porch cushions still come inside or under a roof before a wind-driven storm, because a spray does not hold them down.
Should wax go on a breathable rain shell?
Wax stiffens breathable shells and closes the vapor paths they were built around. Keep wax on cotton canvas and on jackets that were waxed cloth to begin with.
A tired shell gets a DWR refresh, or it gets retired for a waterproof cloth. Keep the wax bar off that shell.
Why does a shell feel wet when the inside stays dry?
The face fabric is saturated, so it feels cold and blocks vapor, while the coating or membrane underneath is still holding liquid out. Wash the dirt off and restore the beading finish before you condemn the barrier. If seams are the only wet spots, seal those stitches instead.